I did a meeting for local Do-It-Yourself installers in my neighborhood and one of the requests was a step-by-step install. The video is below these steps if you are interested.
I am in the process of installing another solar install on the roof at another house. I have just begun and I will update this page as I complete the install, if I complete the install. I do expect it to take between 3-8 months because I have to upgrade my panel from 100 amp to 200 amp and replace the roof prior to installing the panels. I will be attempting to get the permit before the panel and roof are upgraded/replaced.
Here we go!
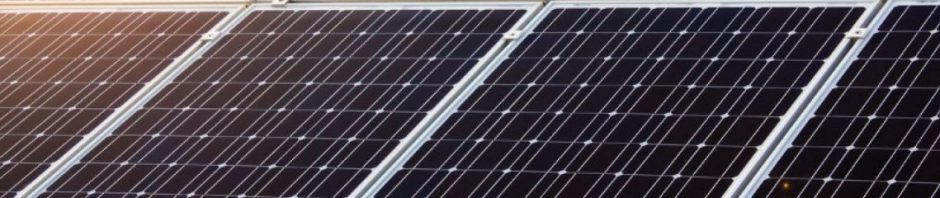
- This is the 4th install I have completed and for whatever reason, I first buy the panels. This is the most costly of the parts. I put them in my garage and I see them every day. This is a constant reminder to stay on task. I purchased 30 photovoltaic 144 cell panels. These arrived at my home a couple of weeks ago and the top panel was damaged. The reason I chose the 72 (144) cell solar panels was simply cost. I wanted to purchase the panels at the lowest cost per kilowatt. They are new B-grade Q-Cell 144, 395-watt panels which were delivered at a cost of .25 per watt or $2962.50 exactly.
- Buying B grade panels is a risk and I do not recommend this route. You can find panels in the .33-.45 per watt range and in order to reach a return on your investment, this is the biggest factor. Keep those costs down.
- Most all 60 (120 split) cell and 72 (144 split) cell panels come with MC-4 connectors that are the standard in the industry and will connect in series to most residential inverters.
- Panels do have a very long life and are generally, very sturdy and reliable. I actually had one and at 200 lbs, stood on it without any visible damage. Not recommended as you can introduce micro-fractures that could damage the panel years down the road.
- There are many brands and technologies that will not be covered here. I will make a general recommendation. Get the highest efficiency and temperature coefficient as you can while also not spending a lot on price per watt.
- Next, I purchased the inverter so I can install it on the wall, again, this is motivation as I now have the two most critical parts to install solar. I could, at this point, lay the panels in the grass, connect them to the inverter, connect the inverter to the panel and I’m producing power. This is a psychological move on my part. I am now committed to the install. Keep in mind, you will likely not find an installer that is willing to do your install once you’ve purchased the parts. However, at my purchase price, it would be pretty easy to sell the panels and inverter on Facebook or Craigslist for close to what I paid for them. Installers make money on the equipment, not just the labor and it can be a significant part of their profit. I purchased and SMA SB 7.7-1sp-us-41 7.8kW AC String Inverter, reliable, cheap, simple for $1350 delivered to my home. It is also well below the 10 kW AC limit for Tier 1 installs under Duke Energy interconnection requirements.
- There are three technologies. All three technologies offer rapid shutdown, monitoring, and optimization.
- String inverters (SMA, Fronius, etc)
- Inexpensive
- Reliable
- Simple to Install
- I’m testing a TIGO optimizer that mitigates shade and angle/direction differences installations. So far, I’m impressed and it has many advantages and cost savings over SolarEdge. It has a few downsides as well.
- Origin: Germany
- The inverter will likely be your energy production constraint.
- Inverter Optimizers (SolarEdge)
- I’ve read about a number of installers having reliability with these systems.
- More expensive than straight string inverters.
- They are more tolerant of shade and panel angle/direction differences.
- Origin: Israel
- The inverter will likely be your energy production constraint.
- Maintenance can be more difficult as part of the inverter is installed under the panel on the roof.
- Micro-Inverters (Enphase)
- Most expensive solution.
- A great solution to mitigate shade, panel angle/direction difference, and even panel size/wattage differences.
- An inverter is directly tied to each panel. This allows you to grow your system by installing additional panels/micro-inverters.
- Maintenance will require you to get on your roof if you run into problems.
- Origin: USA
- String inverters (SMA, Fronius, etc)
- There are three technologies. All three technologies offer rapid shutdown, monitoring, and optimization.
- Go to https://www.sunnydesignweb.com/sdweb/#/Home and design the system. This provides you with an understanding of how much power you will produce given the location, parts you have purchased as well as the layout of your install. Your angle, direction and configured strings can be defined here. The tool does have some issues and can be difficult to figure out the first time but it is invaluable. I will include my permit application and you’ll see the documents created by this tool.
- There two popular racking systems are Unirac and IronRidge. IronRidge is a little cleaner and more expensive. Design your system using the design tools provided by Unirac or IronRidge. I chose Unirac for my install for a couple of reasons.
- Unirac is cheaper
- I have the Professional Engineer stamps for an install using Unirac in Florida, including the mount points.
- I will be posting the permit application to the web but until then you can access it via my OneDrive shared link here: Permit Documents
- The fee is $200 for a roof mount photovoltaic system.
- As a homeowner/DIY installer, you must apply for your permit in person.
- As a homeowner/DIY installer, you will need to file an Owner/Contractor Affidavit
- Homeowners will need to fill out the Permit Application.
- You will need to file a Notice of Commencement before you can begin. I bring this with me, get the permit number, get it notarized and return it on the same day assuming the permit is approved.
- Wish me luck.
